iMacPi MagicMirror
Overview
The original MagicMirror project was originally developed by Michael Teeuw and his page can be found here. The MagicMirror aims to use a Raspberry Pi to display a web page that allows you to display different widgets on it either from the original project and/or third party creators.
For this project we will be using a RaspberryPi and a dead 2007 iMac shell with the original display. This build will be more along the lines of an information display rather then a information mirror.
What you'll need
- A 2007 24 inch iMac (iMac7,1) - you could probably use a different iMac but I have only done it with one.
- LVDS Controller Board for your specific screen
- Power Adapter with 12V and 24V output
- Raspberry Pi. I went with a Raspberry Pi 3 Model B.
- Components for Raspberry Pi, i.e. power supply, HDMI cord, micro sd card, etc.
- Dremel
- Dremel Cutting/Grinding bits
- Kapton tape
- Screws
- Adhesive Glues
- 2.1mm x 5.5mm DC 12V barrel extension cable
- 90 Degree Micro-B Male to Female extension cable
- Probably other stuff as well
Opening the iMac
For this I would recommend following the iFixit guide located here for this specific iMac. As I've done it countless times in the past I didn't think to take pictures, etc. Essentially you want to gut the entire thing and keep only the screen.
Determining Power Supply and LVDS Controller Board needed
At this point you can't really go any farther until you have determined and acquired the LVDS Controller Board and power supply. For this you need to find the model number of your display and scour eBay for display controller and a compatible power supply for it. They seem to mostly come from China but I haven't had any problems to date. If you see one that is similar but not marked for your exact display message the seller. I've found the sellers that I have purchased these parts from really helpful. I found a similar build on iFixit.
Testing components
It is highly recommended to test the components before assembling them in the iMac case. When testing I made sure to leave the display on when unplugging it which then seems to allow the display to return to its on state whenever plugged in. I chose this as after assembly the display controller buttons are not available from the outside of the case.
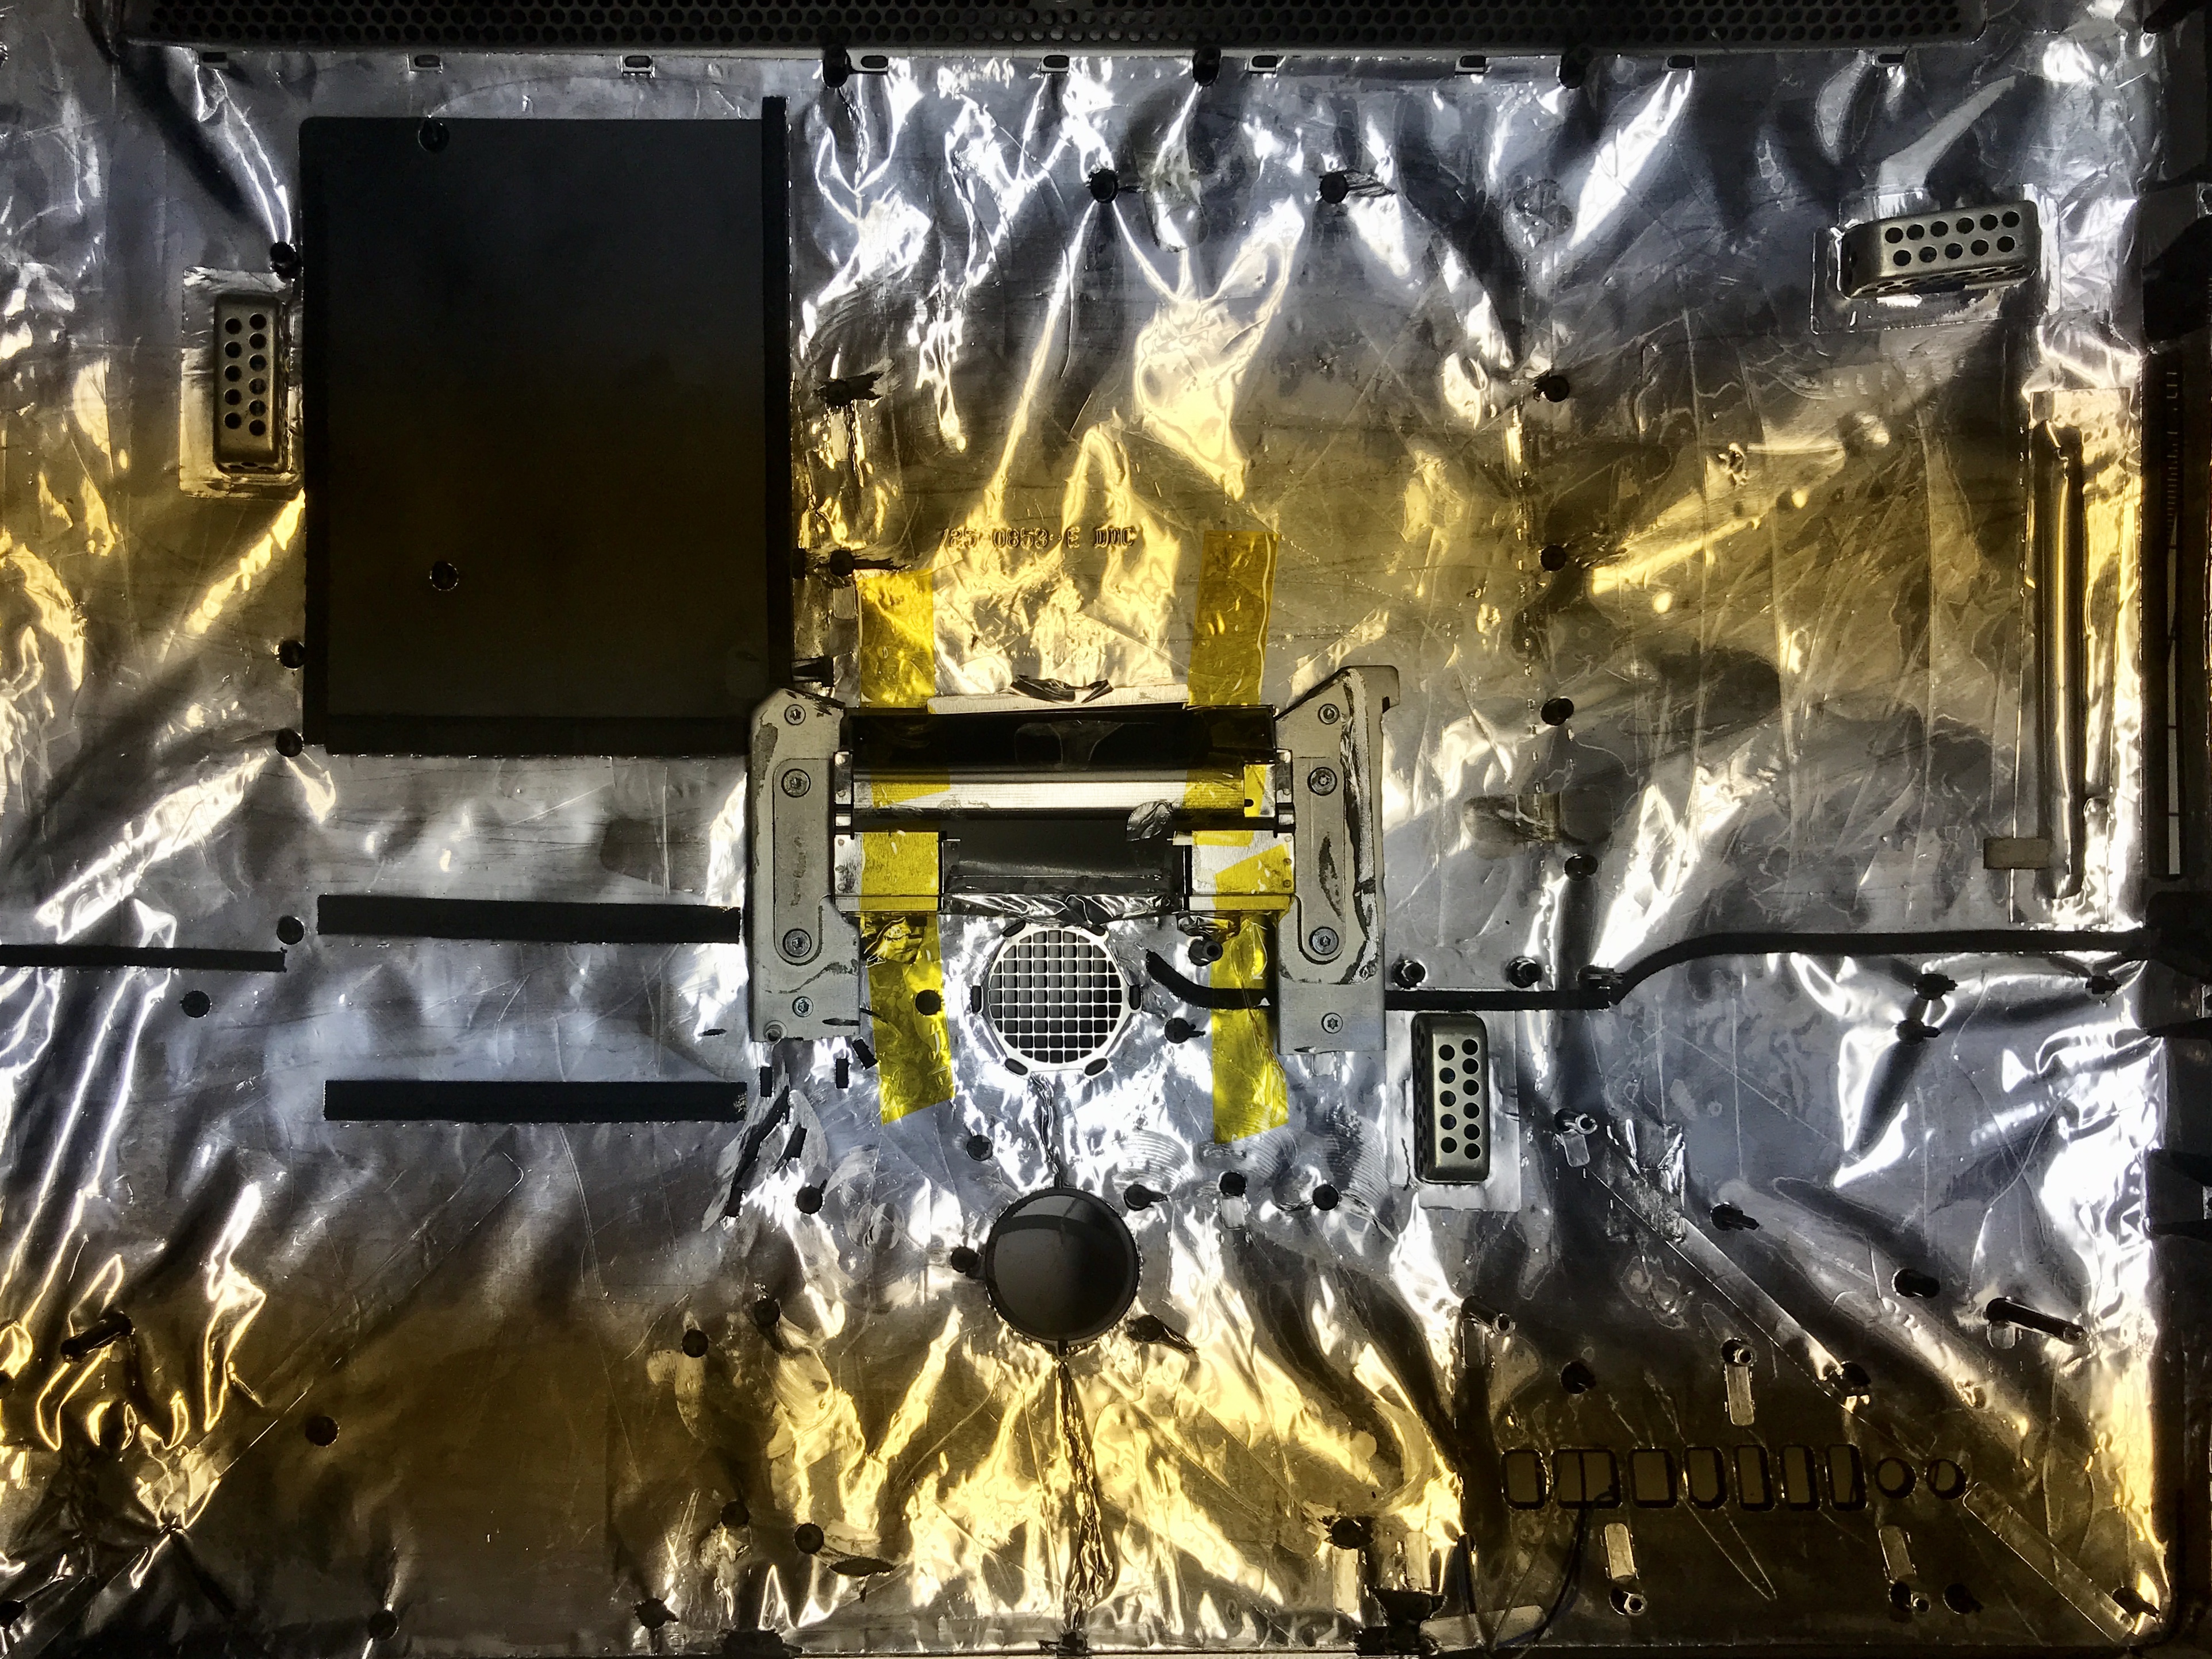
Making space
I decided the best course of action was to cut away all the metal that wasn't needed except for the 4 screws holding the arm assembly to the plastic shell.
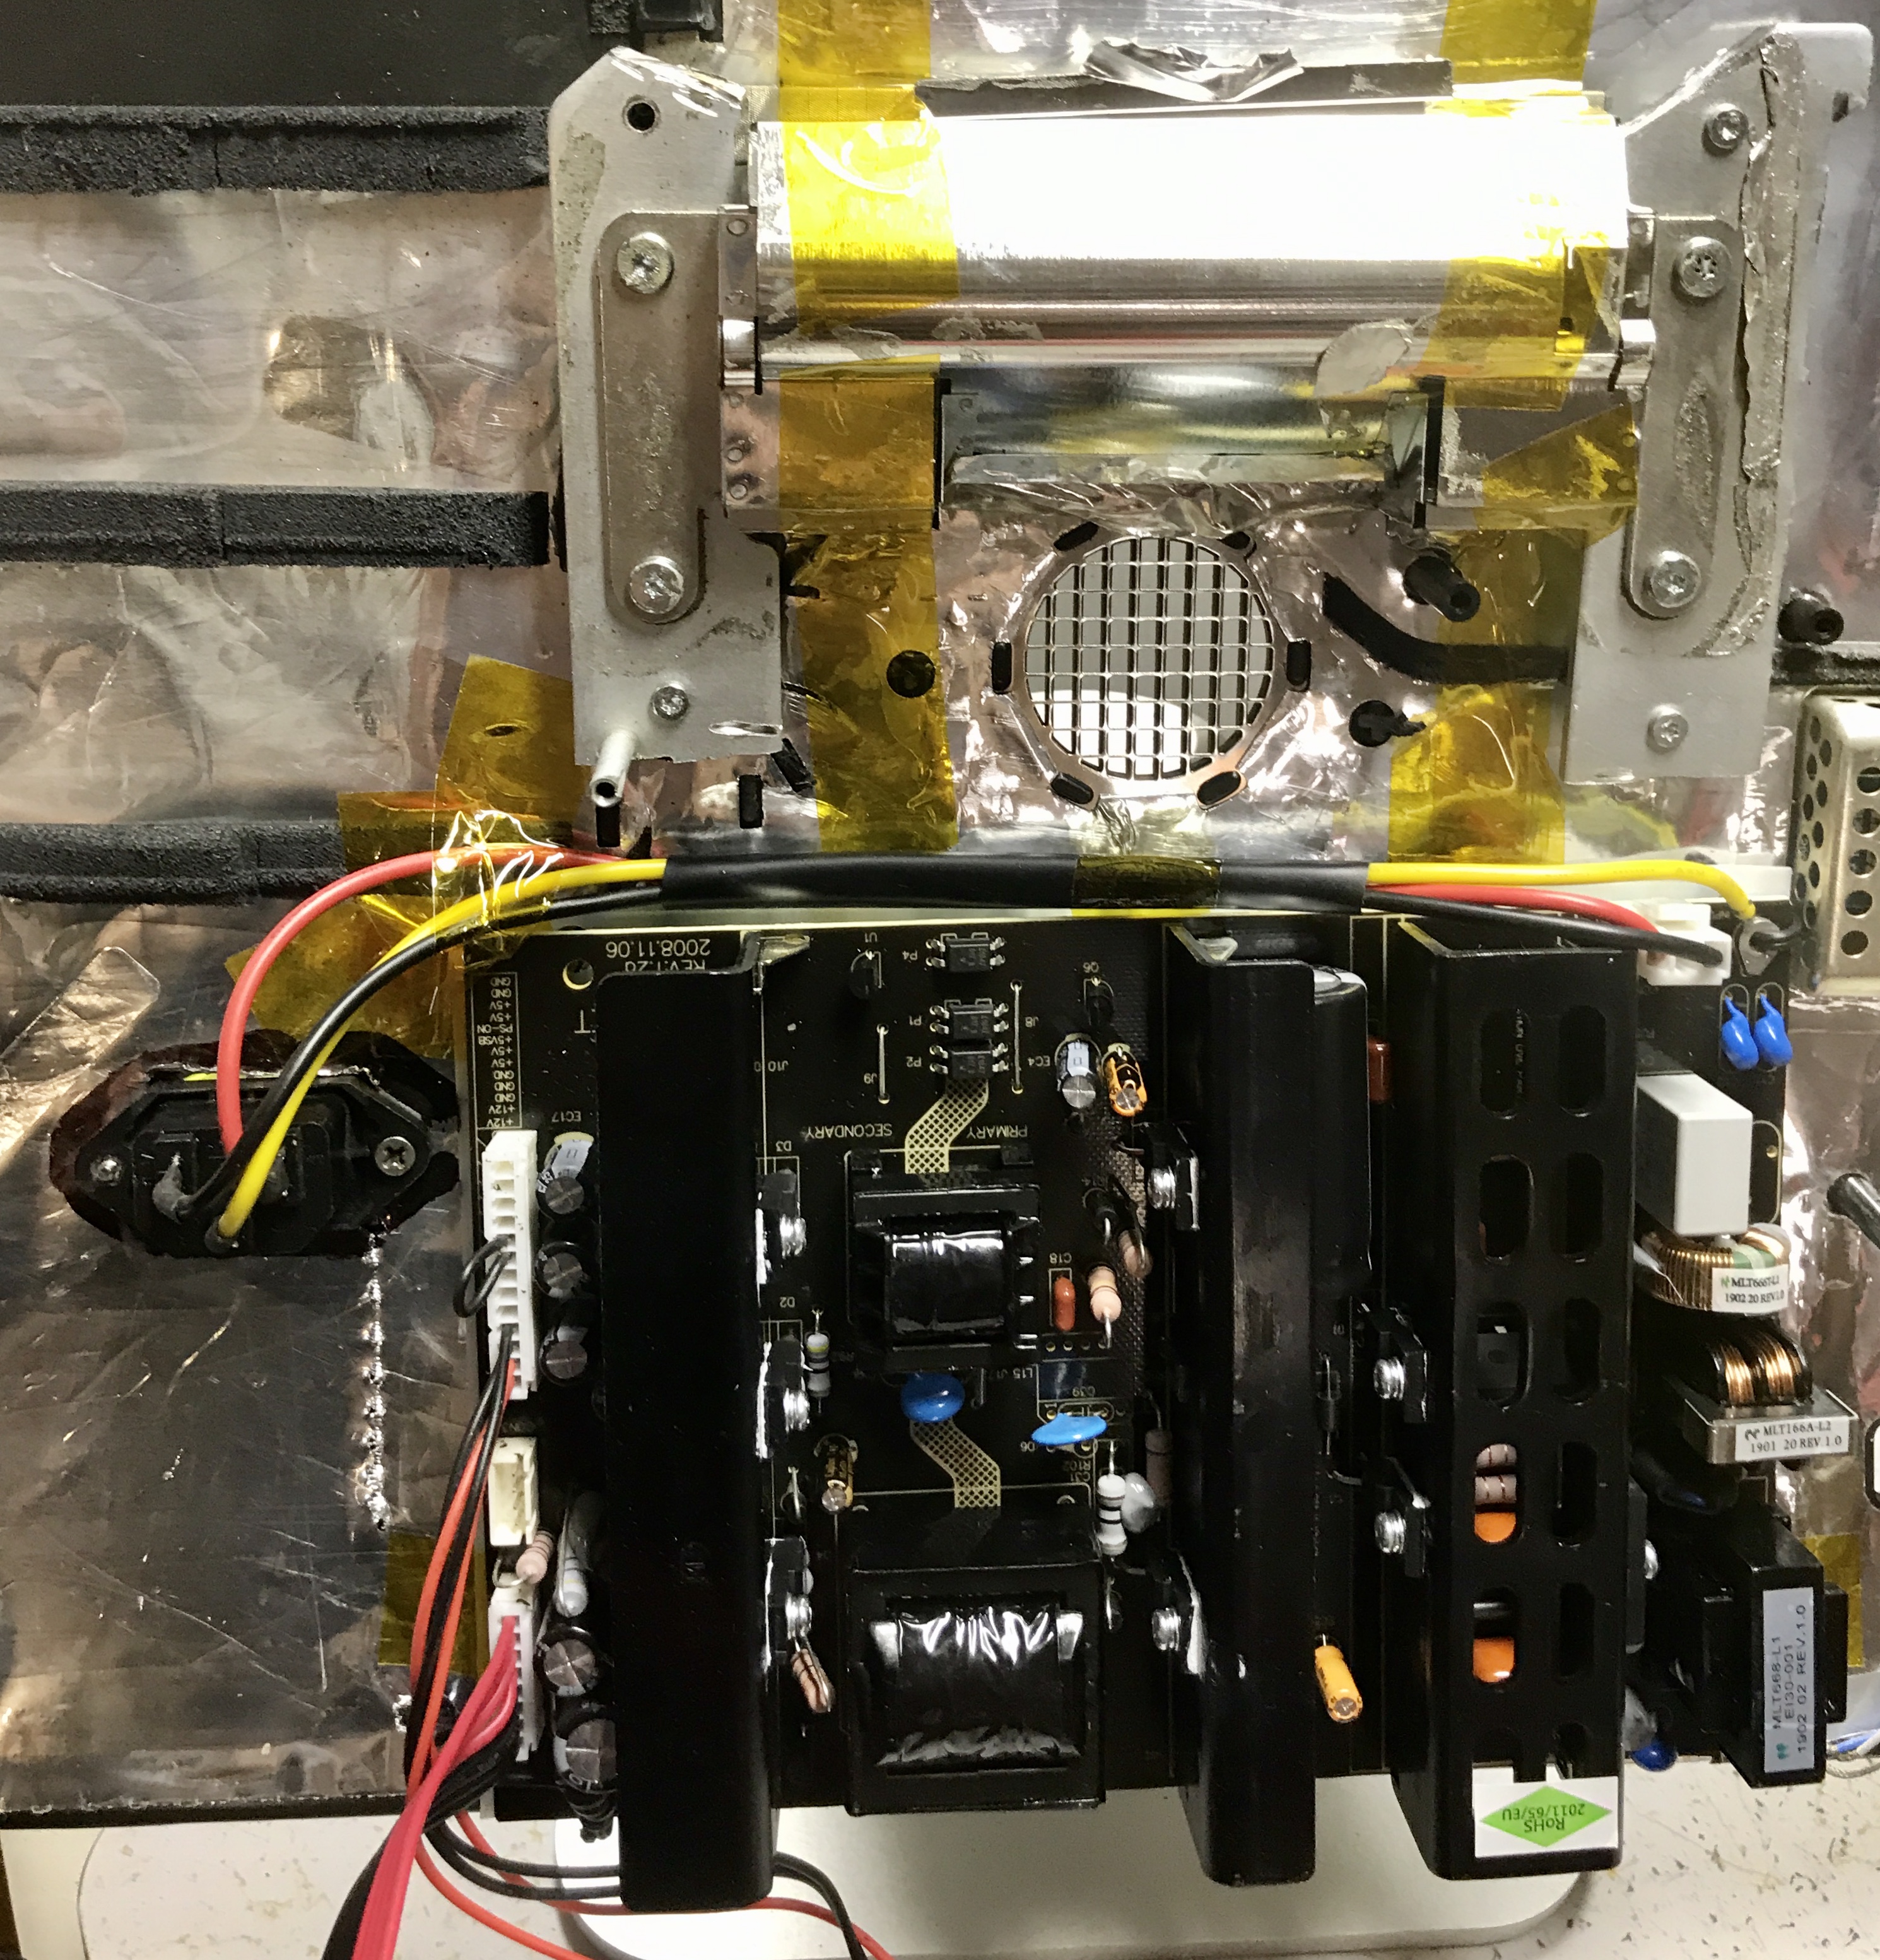
Power Supply
I'm still not sure what the best placement is for everything. I decided initially to put the power supply at the top of the iMac above the stand attachment but realized that display wouldn't sit flat.
I determined that the power supply fits best below the stand attachment where the hole for the power cable used to be. As it would seem the power supply mostly fits and thats what I will be doing for this. From what I could tell at this point in the project, the case will not fully close but it seems to be the best I can do.
After test fitting, I decided to mount the power cable plug to the left of it and cut a hole using the dremmel plastic cutting discs and the engraving bit for finishing up along with using the metal polishing wheel to smooth the edges out. I then drilled holes and screwed it in with some random screws I had lying around. Initially I decided to screw from the inside but later on I moved the screws to the outside as they seemed to stay better. I then used kapton tape to secure the power supply to the right of where the power cable was. If I were to open it again I probably would use some adhesives glue as well.
Display Controller
The display controllers biggest challenge was to decide where to stick it within cable range of the power supply and the backlight and LVDs cable within range of the display. For that I decided to stick it to the right of the stand attachment mechanism. This also allowed me to screw it into one of the screw mounts. At this point in the project I stuck kapton tape against the metal casing of where the display controller was going as I didn't feel like figuring out what was conductive or not. There is a display controller panel with a few buttons and a led that I just taped in at a random spot for now.
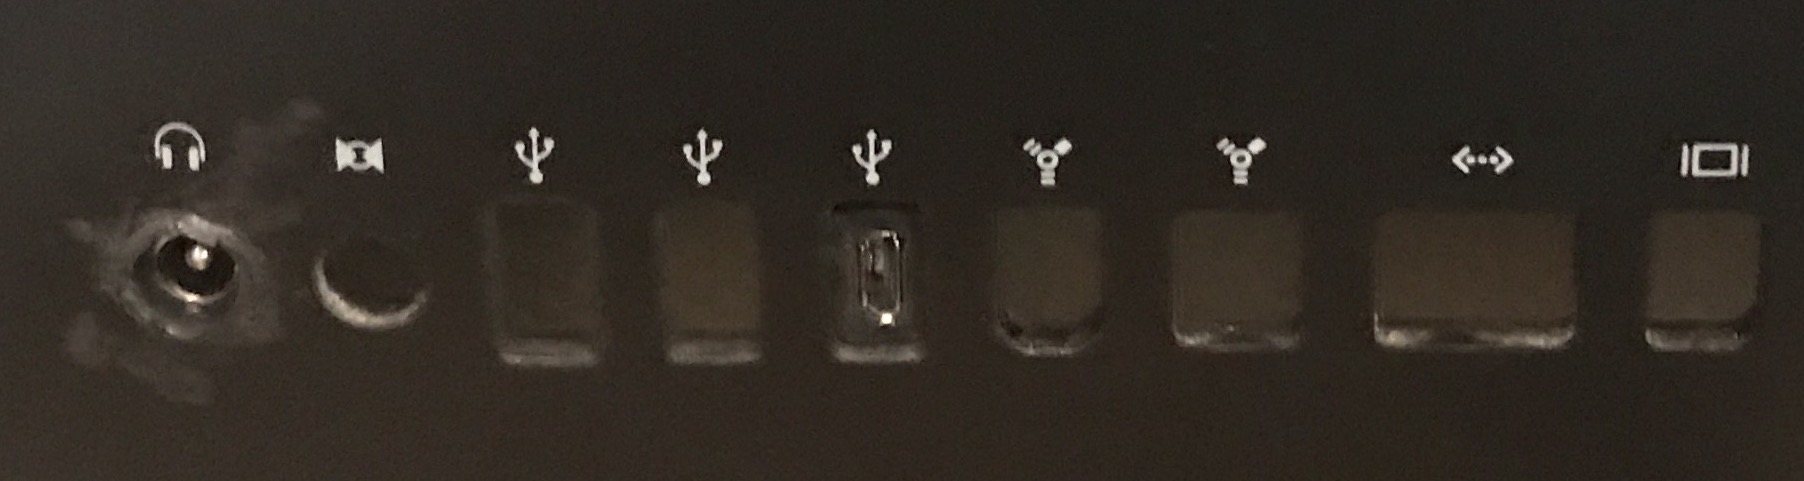
Next I used this 2.1mm x 5.5mm DC 12V barrel extension cable to extend the display controller out to of the iMac shell. I drilled a bigger hole into the where the headphone jack used to be. It was then squeezed into the hole and glued in place.
Raspberry Pi
Before continuing it's recommended to make sure you have already previously configured the Raspberry Pi by connecting it to a wireless network and enabled remote access.
The last piece of hardware that needs to be installed is the Raspberry Pi. I decided to place it above the stand attachment mechanism as I had already cut away the metal previously leaving a nice open area. I again used Kapton tape on the metal backing of the case as well as using it to secure the Pi to the case itself. Next I used a 90 Degree Micro-B Male to Female extension cable to run power to the outside of the iMac similar to the display controller. I could have used a cable that went straight out but it was leftover from a previous project. I chose to stick it into one of the usb ports and used some adhesive glue to stick it in.
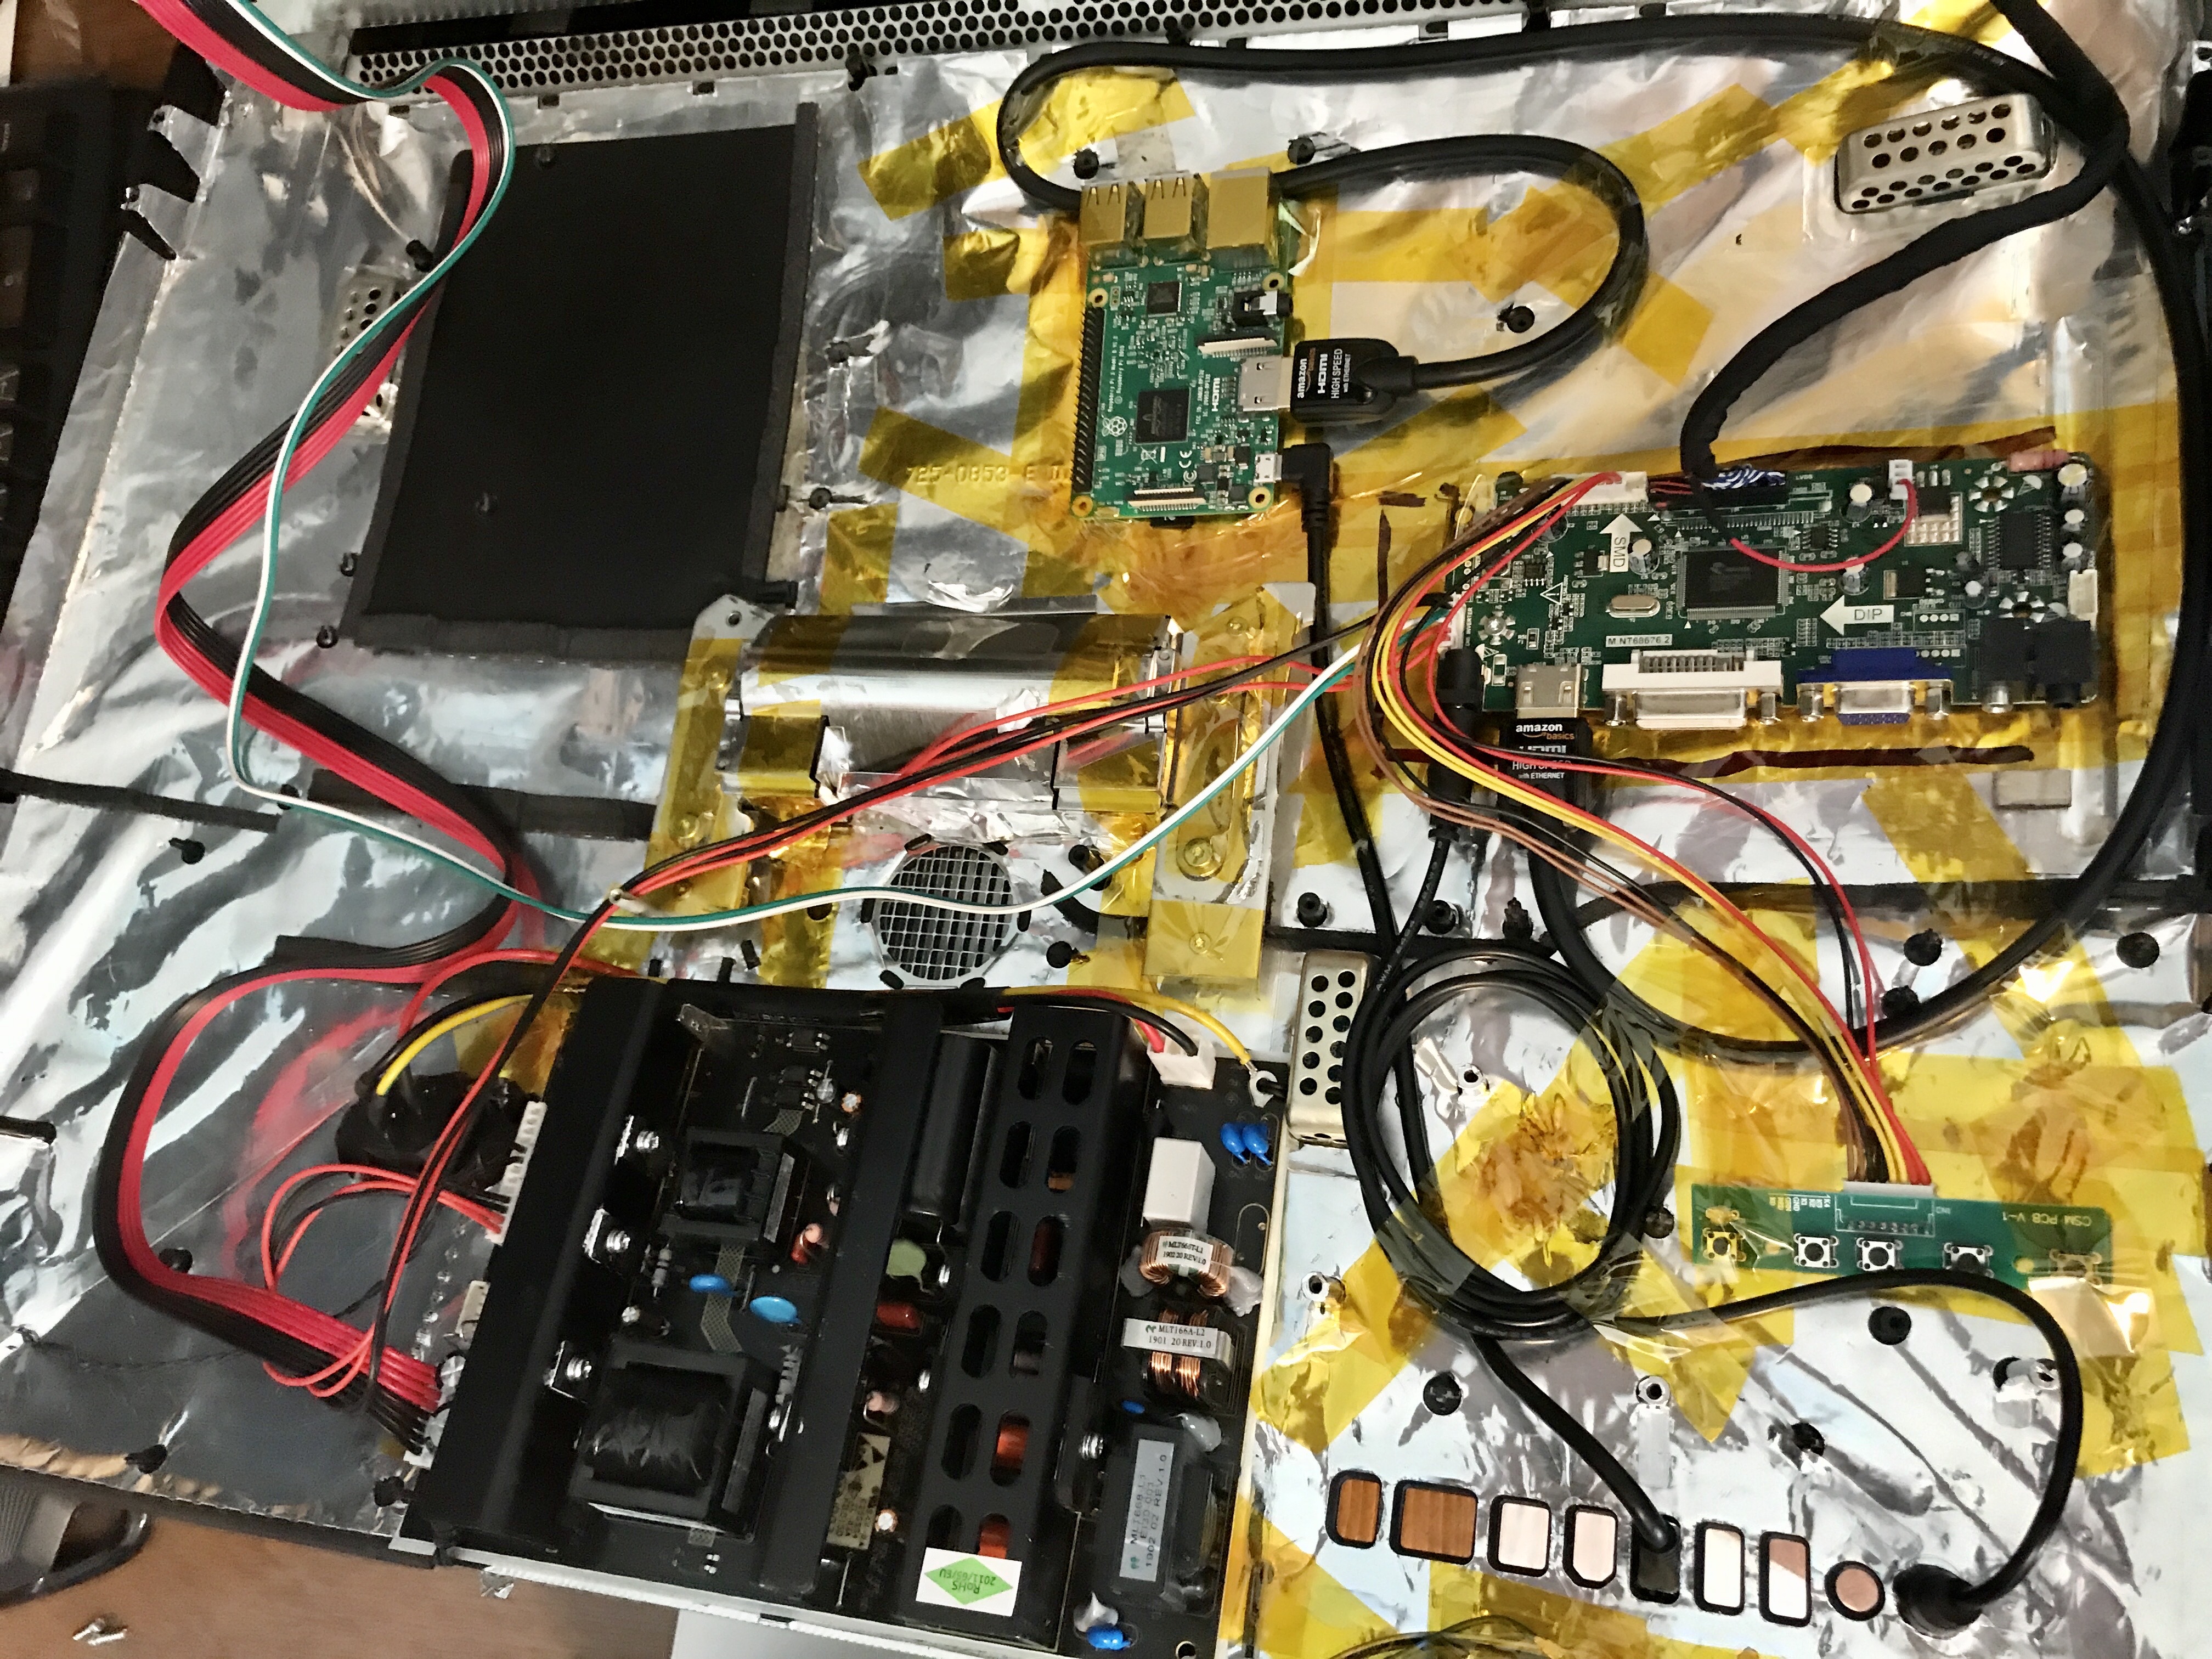
Electronics Assembly
Next I assembled the all the electrical components together. Stuff from the power supply, display controller and of course the HDMI cable for connecting the display controller and the Raspberry Pi. I found when connecting everything, it either fit in the correct spot or it didn't, meaning that it was the wrong connector for the plug. It was at this point the display was then attached to the rest of the hardware and then situated on the screw mounting points from the original disassembly.
Enclosure Assembly
Finally it came down to securing the screen to the back plastic assembly. I used the original screws for this. I did not tighten the bottom 2 screws on either side of the display all the way down as the power supply wouldn't allow it without flexing the back assembly. I chose not to flex it as it isn't really necessary. Next I attached the metal front housing in front of the display. I did not latch it at the bottom as it would then flex the back housing as well. This leaves a bit of a gap at the bottom but I determined this to not be a problem and just provided for some extra airflow. I have not noticed it being an issue as of yet. Due to cutting not all screws were reattached (bottom screen screws). At this point I wiped down the display and glass with a microfiber cleaning cloth and then carefully reattached the glass to the metal housing.
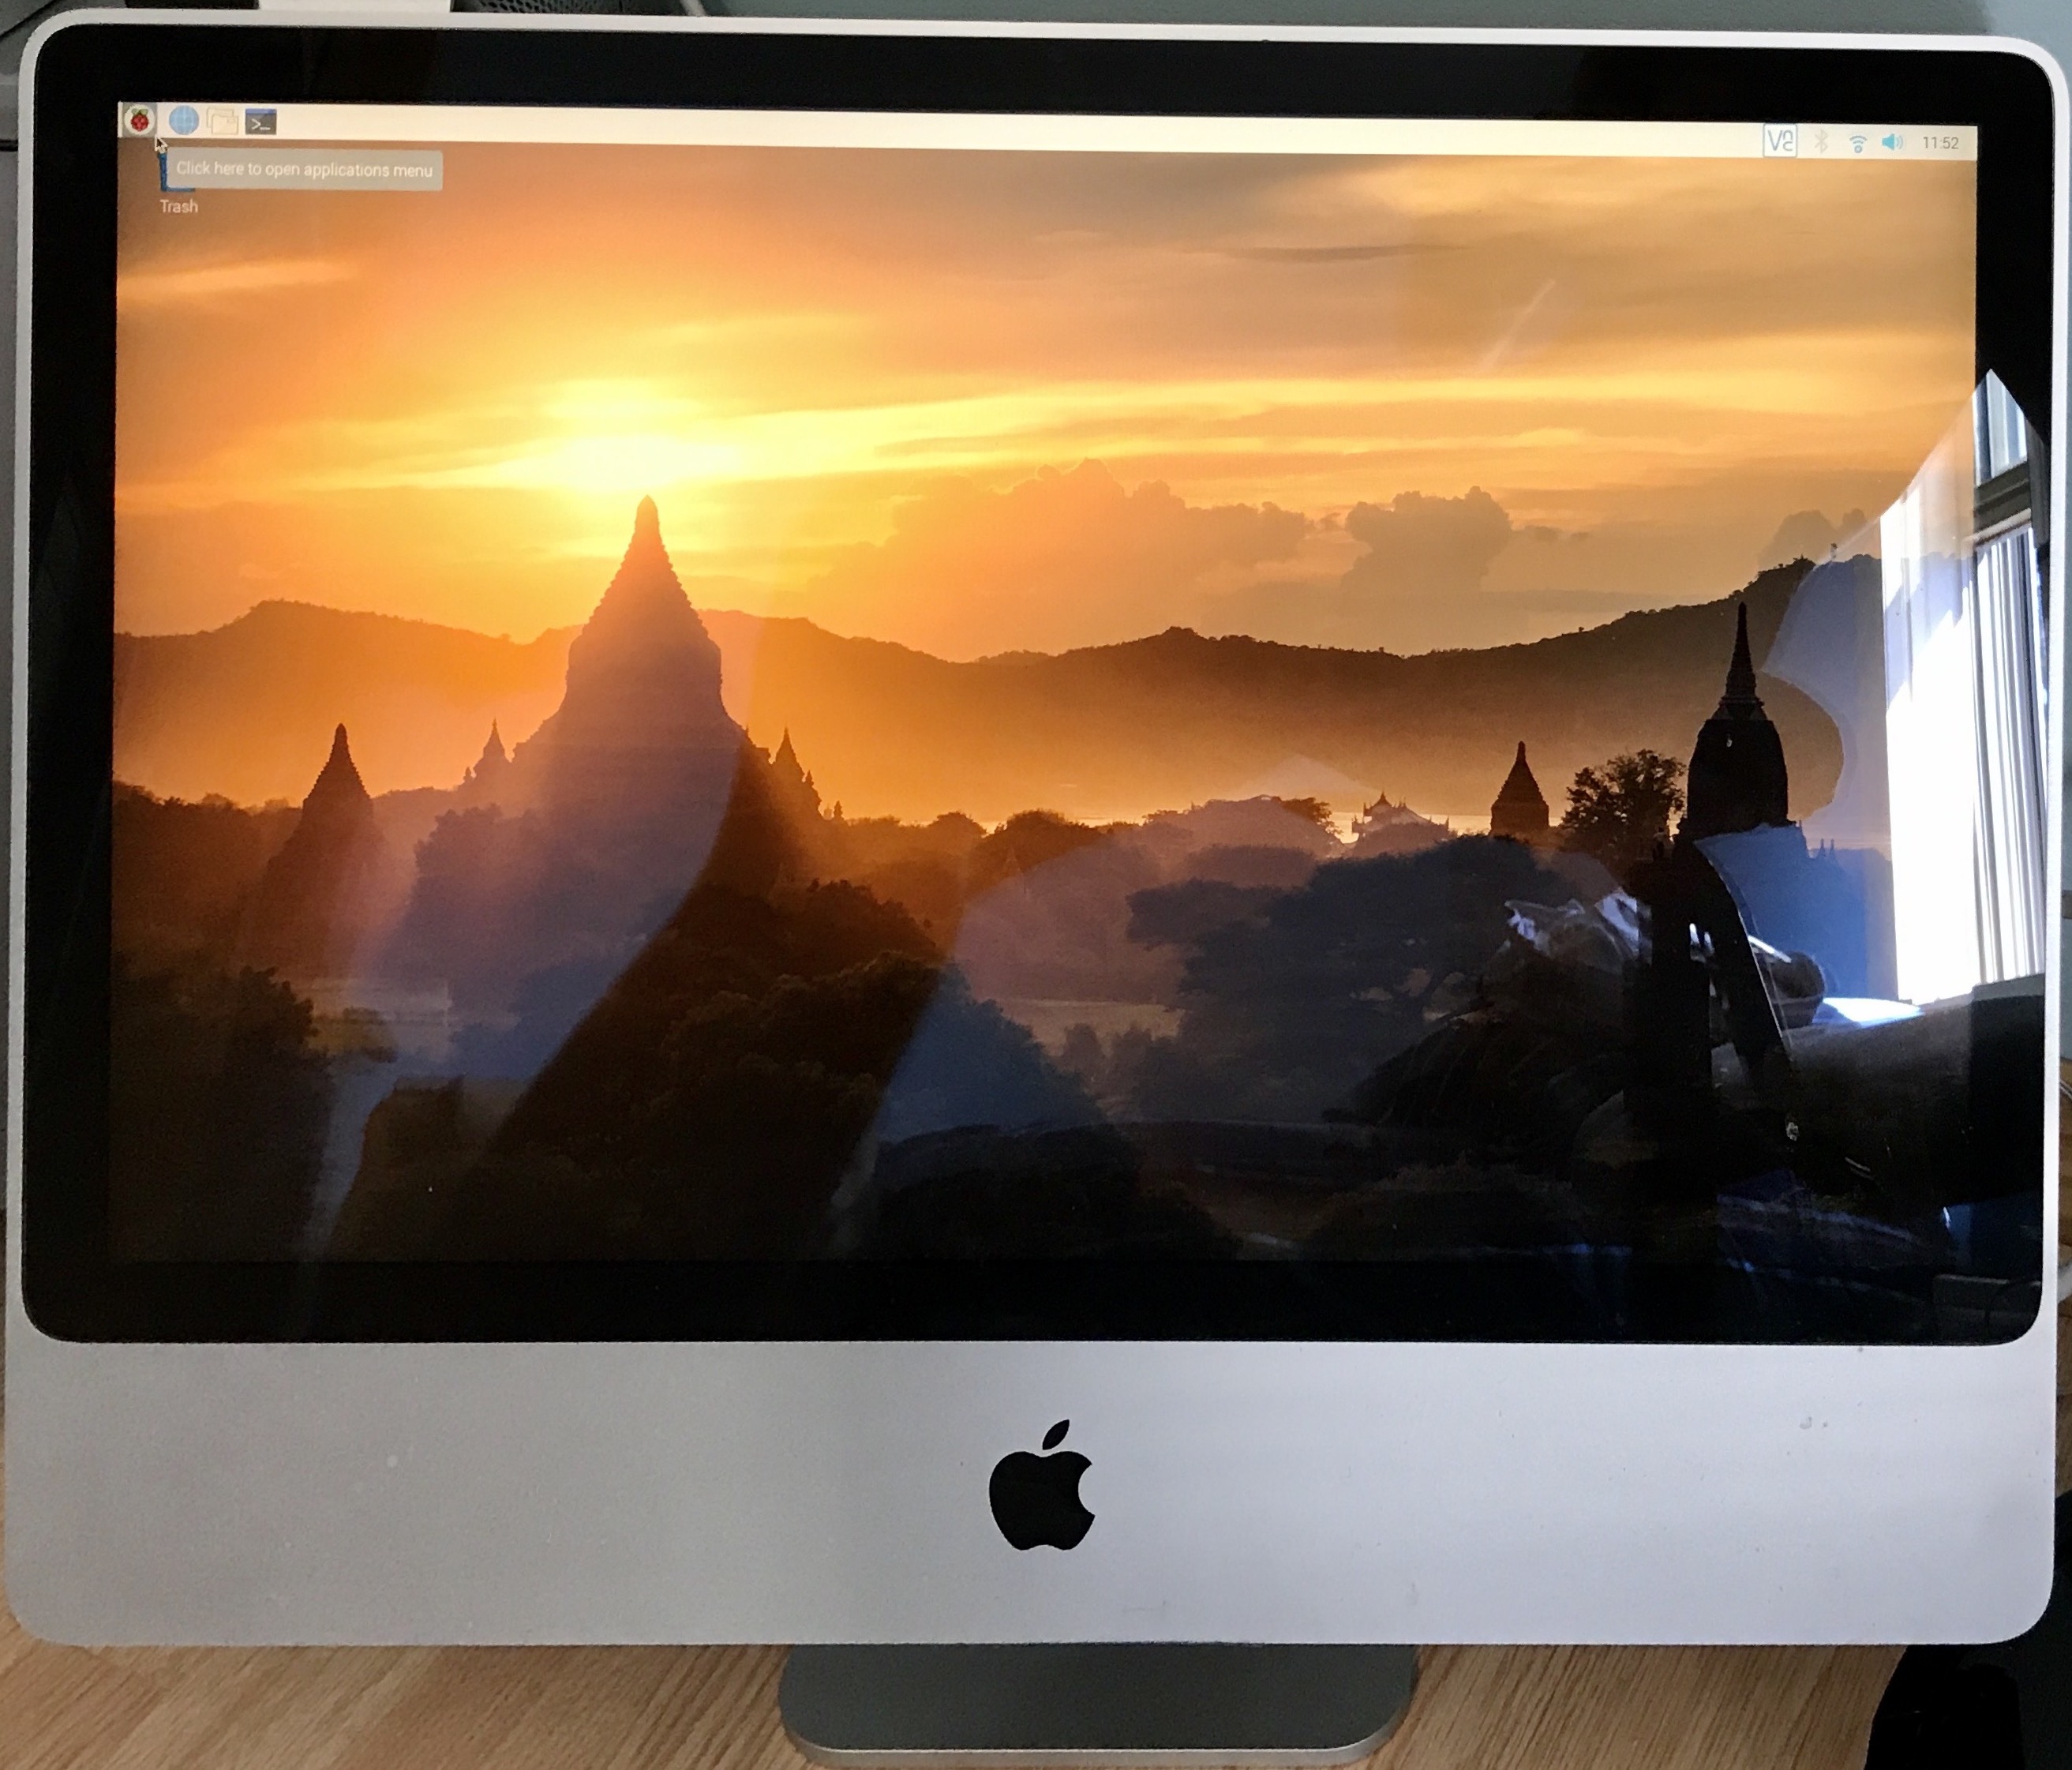
MagicMirror Configuration
I could go into detail of the MagicMirror configuration but I find that the original guide is really good.